We’re less than a month away from NaNoWriMo, everyone! In the last post, I’ve talked quite extensively about how I set up my writer’s notebook in preparation of NaNoWriMo—especially in defining the project statistics and brainstorming for the story. This week, we’re going to tackle the heart of any novel: the plot.
Read more: NaNoWriMo 2018 Prep: Setting Up a Writer’s Notebook – Part 1
The plot is what makes your story. It is what happens to your characters, and also what happens after it happens. It is the action and reaction, the cause and consequence of everything that transpires inside your fictional realm. It could be the most exciting part of writing a book, as well as the most frustrating.

Personally, I’ve never been a good match with plotting. More often than not, I would know all about my characters, locations, and even wrap up my research for the project—but still, have no clue about what happens inside my book. Sounds crazy, I know, but it happens all the time.
So it may come as a little bit of a surprise for me to include this “plot section” in front of the “characters” and “settings” sections inside my writer’s notebook. But I have my reasons.
Thinking about the available space in a writer’s notebook
You see, during the writing process of a book, I often add new characters along the way. It doesn’t matter if I’m only starting out or if I’m already at chapter 10. There is always a chance that I might add a supporting character, or add another fact about an existing main character inside my notebook. And the addition of these characters, of course, needs extra pages.
Whereas with the “plot”, once I outline everything, I rarely add anything. Sure, I might rearrange scenes and add minor details, but since my usage for “plot” section is always minimal, I always put this section first, and everything else later. Please feel free to adjust this preference to your style, though!
I might share an in-depth walkthrough of how I plot my novels in the future, so please let me know if you’re interested in reading about it!
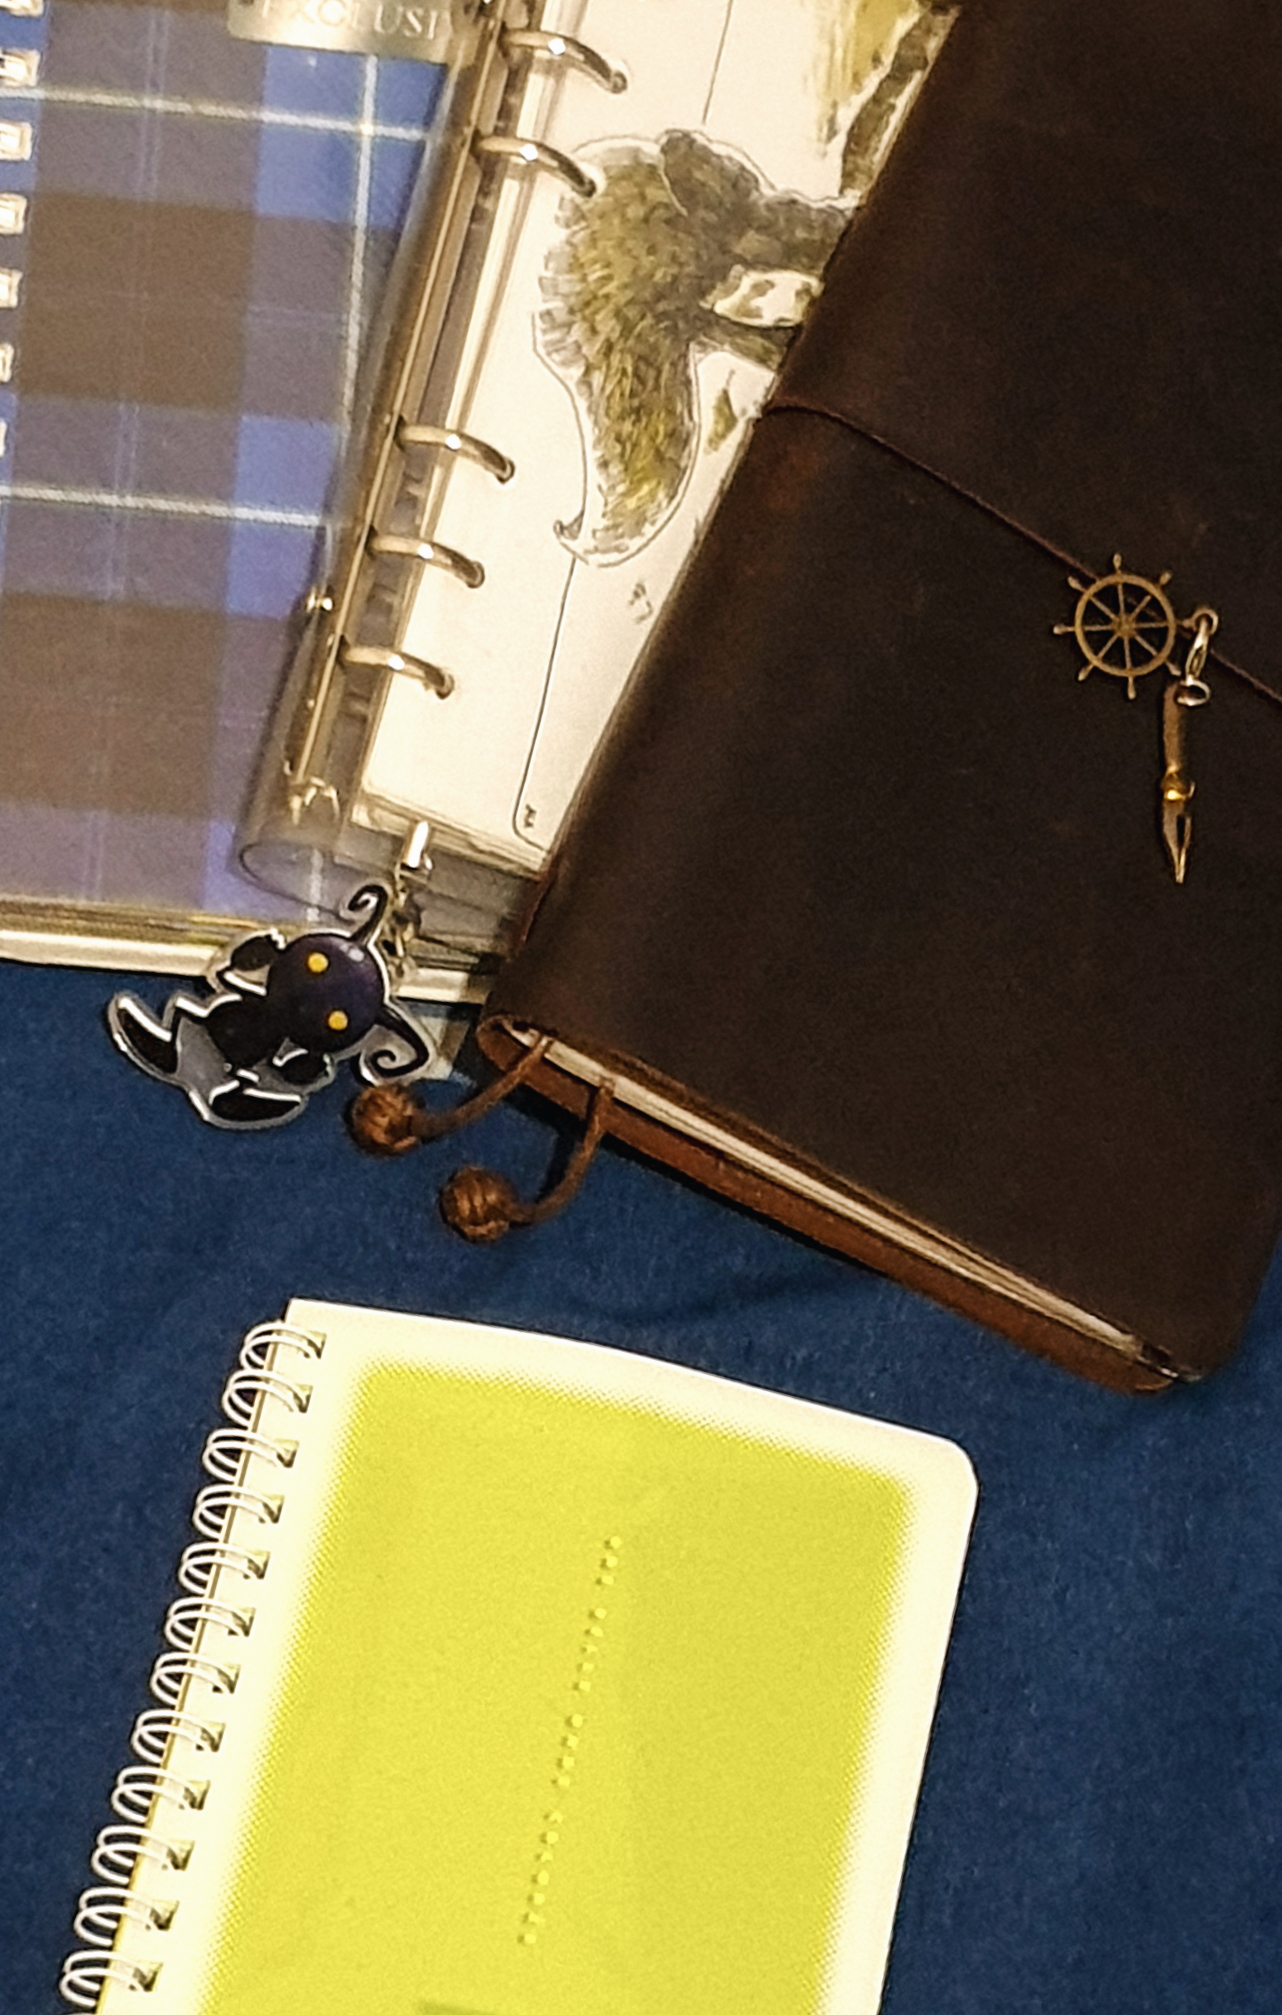
In any case, this is how my “plotting” section in my writer’s notebook usually look like. Please keep in mind that I wouldn’t be able to share the actual plot of my upcoming project for NaNoWriMo, since (obviously) I don’t want to reveal any spoilers when I haven’t even finished the manuscript.
***
Project Premise: The One Sentence that Summarizes It All
At the heart of every good story, is a good story premise. If you don’t know what a story premise is, then think about it as “the essence of your story, condensed into one single sentence”.
That might sound intimidating to some. I mean, most of the time, we might have an inkling to what kind of story are we trying to tell. But to actually write the story out; let alone condensing it to one single sentence? That is really hard to do.
Fortunately, I’ve read about story premise in the past, and there is actually a formula we can use to define our story premise. I have tried using the same method to extract a premise out of my books (and other people’s books), and I have to say it really works. The formula goes something like this:
Story Premise = Main Character + Desire + Obstacle.
For example, let’s take some really popular fiction as our example:
Harry, an orphan who didn’t know that he’s a wizard, got invited into Hogwarts School of Witchcraft and Wizardry and wanted to live his school life to its fullest, but a certain Dark Lord who killed his parents is trying to rise into powers again and kill him in revenge.
Katniss, a young girl with extraordinary valor, wants nothing more than to ensure her sister’s safety, but the only way to do that is for her to enter a relentless battle royale in her sister’s place.
Kemuning, a woman who lost her mother 7 years ago, wants to know why her deceased mother keeps reappearing in her dreams now, but her mother’s messages are too cryptic to understand.
Nakamura, whose best friend just committed suicide, is terrified that she might be the reason why the suicide happened and wanted to be free from guilt, but a ghost of her best friend started haunting her and made her remember everything that has happened in the past between them.
I have color coded all the premises above into the respective categories: Red for “Main Character”, Green for “Desire”, and Blue for “Obstacle”. Admittedly, this is an oversimplification of how a story premise can be constructed, but we can see with the examples above that most stories when dissected properly, comes down to this generic formula.
So inside the writer’s notebook, I usually reserve at least half a page for writing down my project premise. Unlike some writers who might already have a clear idea of what they want to write at this point, I usually refrain from writing down my premise until I have a clear outline of the story.

By writing down the story premise, we can refer to it at any given time during our writing process, and validate whether we are still on track, or are we actually being derailed by something. This is especially useful when you’re asking for a professional editor’s input; my general rule is that, if the changes the editor is requesting could potentially change the project premise, then I wouldn’t bother with revising the existing manuscript and just write another story from scratch.
Also, having a premise would help tremendously whenever someone asks you what your book is all about. Instead of a lot of “uhm” and “ahh”, it’d really help to have a single sentence you can memorize and use as a default answer for such question and all its variations.
***
Project Plot Definition: Defining What is the “Main Course” of Your Story
I usually put Project Premise and Project Plot Definition on the same page, since they usually take up the same amount of space.
In longer forms of writing, authors usually include several sub-plots to spice things up and make the overall story more interesting. A sub-plot is, as the name suggests, a chain of events that could be categorized/grouped together, does not affect the main plot directly but adds to the story—whether it is by providing depths for the characters, or the world.
I find it necessary to plan out what sub-plots to include in the story before I even start writing it. Whenever I jump in without a clear plan for sub-plots, I tend to keep on adding new things to “spice things up”, and will end up with an ambiguous story which doesn’t have a clear-cut main plot because of the many sub-plots outshining it.
By separating what my “main plot” and “sub-plots” are, I could look at them more objectively in a bird’s eye view. That way, I could keep the sub-plots manageable, and the ensure that whatever I do with the story, it should always follow the main plot.
Since the “main plot” is usually just one sentence, half a page is more than enough to record it in my writer’s notebook. A plot definition is different from a story premise, however, because unlike a premise that clearly defines the direction of the story, a plot definition is more like a statement.

For example, let’s take the story premise of my debut novel, 3 (Tiga), which I have written above:
Nakamura, whose best friend just committed suicide, is terrified that she might be the reason why the suicide happened and wanted to be free from guilt, but a ghost of her best friend started haunting her and made her remember everything that has happened in the past between them.
In the “Plot Definition” section, I will only write the main plot of the story, which directly relates to the desire of the character in the story premise.
Nakamura converses with the ghost of Hashimoto, who committed suicide.
You see how the plot definition doesn’t actually steer where the story is going? I’m just writing down that the main plot of the story is the conversation between Nakamura and the ghost of her best friend, who just committed suicide several moments before the story starts.
By clearly defining this main plot, I could then ensure that the number of scenes that falls under this plot should get more “screen time” within a book. We wouldn’t want a book that has more pages dedicated to the subplots than it has to the main plot, after all.
***
Project Subplot Definition: What Spices Up Your Story to be More Compelling and Entertaining
Now, this is where things get interesting. Unlike the main plot, which usually only consist of one sentence, authors usually have a lot of fun when they’re strategizing their subplots. Remember, subplots are plots that do not directly affect the main plot, but should still contribute to the depth of the characters/world the story is taking place in.
Continuing the example I’ve taken above, let’s look at the main plot of my debut novel, 3 (Tiga) once more:
Nakamura converses with the ghost of Hashimoto, who committed suicide.
That alone could make a decent short story. But if we’re trying to write a book, there should be more than just one thing happening at a time. We need more dimensions to shape the story, hence us writers usually devise some subplots to explore more relationships between characters, expose some secrets, have them grow, etc.
In my particular case, here are the subplots I had for 3 (Tiga):
- Nakamura reminisces her life; of her meetings with Hashimoto and Sakamoto.
- Nakamura’s unrequited love towards Sakamoto
- Nakamura and Sakamoto’s reconciliation in the present time
- Nakamura’s shaky friendship with Nishida Mayumi
- Nakamura’s relationship with her Okaasan.
You see, there are suddenly more things I can explore now, that I’ve added these subplots into the story. If you have read my debut novel, then you would realize that these subplots are actually real, and I’ve addressed them all in the book. I find that by listing them down like this, I could measure how many scenes can I dedicate towards these subplots.

Because, in case you didn’t know, the subplots shouldn’t ever outweigh the main plot individually.
Also, my rule of thumb is to never include more than 5 subplots for a standalone novel project. I find that adding more than 5 derails the story significantly, and renders me unable to finish the book in a timely manner. And since I am usually a momentum-driven writer, I have to finish writing a book as soon as I can, or I’ll lose motivation to write it at all.
***
Project Synopsis: A Definitive Walkthrough of How the Story Unfolds
After I have the story premise, main plot definition, and subplots definitions, I usually will feel confident to start writing my synopsis.
A synopsis is basically just that: a summary of your story from the beginning to end. This should not be confused with the short synopsis on the back cover of the book, which usually just contains minimal information about the story premise, and focuses more on “hooking” readers to get interested in the book with as few words as possible.

When we are asked to write a synopsis, we really have to recount our story in a concise manner. I usually pretend that I’m a reporter, and start “telling” what the book is about as if I’m explaining things to an impatient grandma who wants to know all about the story, but wants it dictated to her in less than 15 minutes.
Please keep in kind that in writing a synopsis, it is mandatory to provide information about:
- Who the main character is.
- What the stakes are (the premise should be your guideline in this)
- What the main plotline is
- How does the main character resolve the problem in the main plotline
- How does the book end
We may talk a little bit about the subplots, but I’d advise against delving into too many details in your synopsis.
I know this sounds super laborious and troublesome, but it is always a good idea to have a synopsis on hand. Aside from being an obvious guide for a cover designer to design the perfect cover for you without spending an eternity trying to read your book before even attempting, it also makes an editor’s job somewhat easier.
For example, you might write something like “The main character is touched by the kindness of stranger A, and decided to repay his kindness.” in the synopsis. The editor, fully knowing your intention of making the main character “touched”, will be able to discern whether you’ve successfully created a scene that could live up to your synopsis or not.
(Just write it. They always ask for it eventually.)
***
Project Outline: The Literal Paradise for Paranoid and Type-A Writers Who Need to Know Everything About a Scene Before Writing It Down
Finally.
I actually start my plotting process by outlining all my story ideas first, but let’s save the details for a future blog post, shall we?
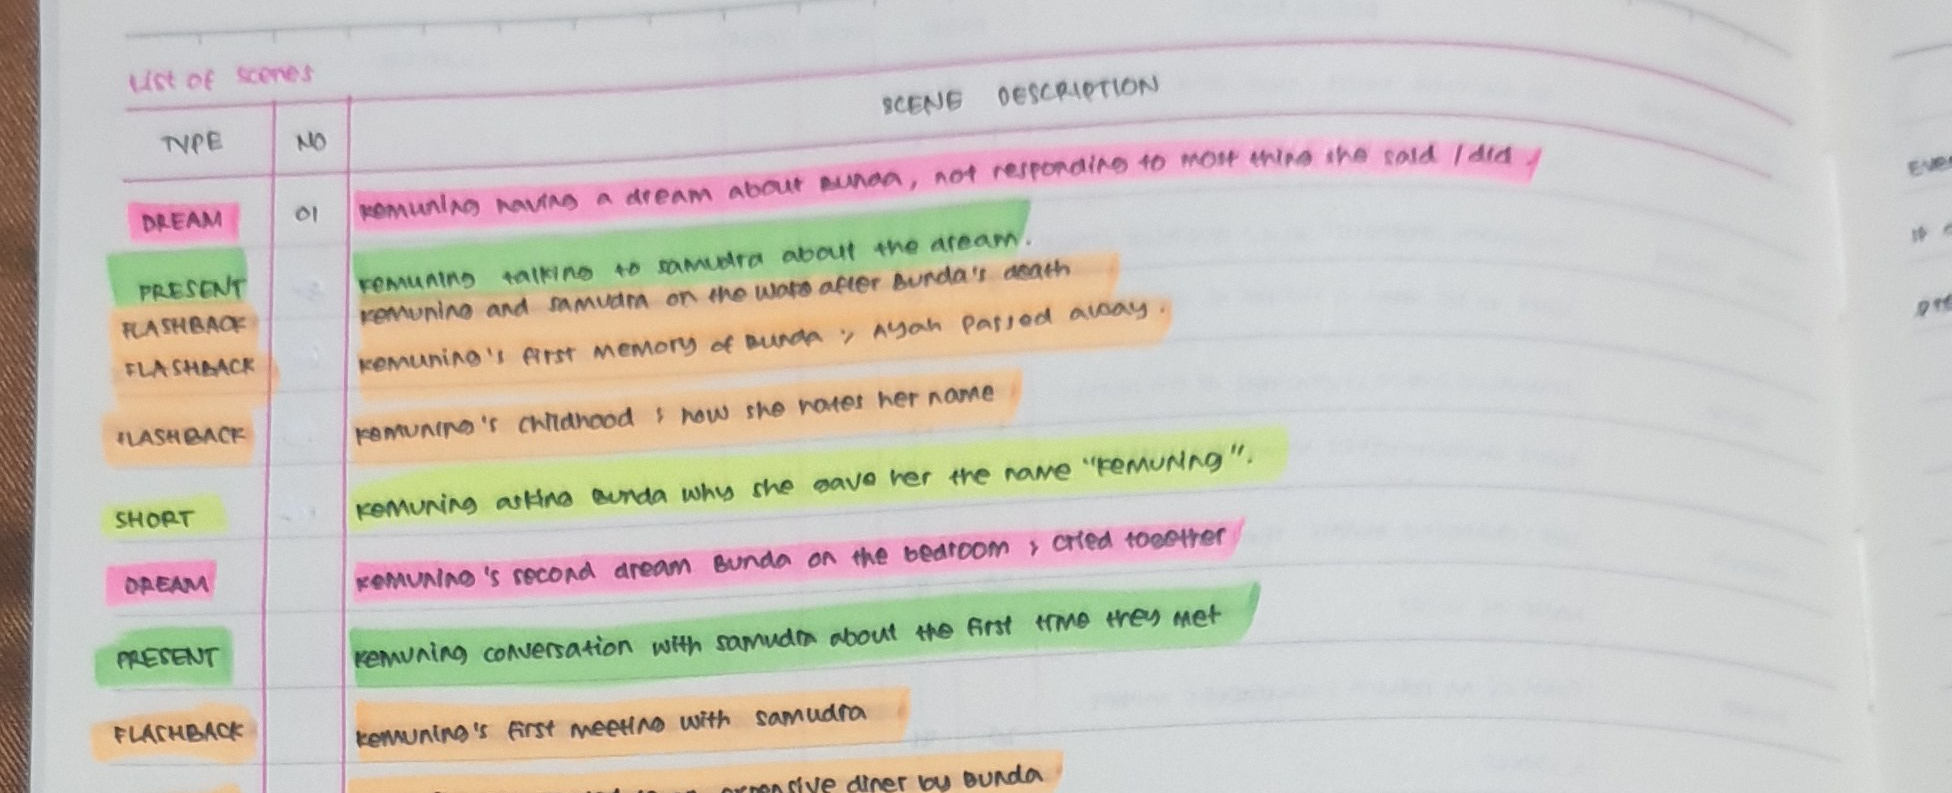
In any case, a project outline is just that. You list down all the scenes in a chronological order of appearance in your book. If you’re the type who constantly changes the order of scenes here and there (like me), then it might be a good idea to invest in some sticky notes. Instead of writing directly on your writer’s notebook, you could always write the scene information on sticky notes, and arrange them however you like inside the writer’s notebook.
I’m usually not THAT detailed when it comes to outlining, so in the case of 3 (Tiga), the outline could very well be something as minimalistic as this:
- [PT] Nakamura attends Hashimoto’s funeral. Encounters Sakamoto.
- [FB] Nakamura called by police to the place Hashimoto committed suicide.
- [FB] Nakamura’s memory about her first meeting w/ Hashimoto
- [PT] Nakamura went home with Sakamoto.
Since my book features a lot of flashbacks, I usually just add a little prefix to every scene card to make it easier for me to distinguish between the two. [PT] stands for “Present Time”, and [FB] for “Flashback”. Depending on the kind of story the author is writing, of course, the convention might change.
Some authors really swear by outlining, and have a frighteningly macro-level accuracy of details to include in the scenes, including the clues for foreshadowing, and the dialogue between the characters. Personally, I am quite comfortable with the level of detail I wrote above.

It feels informative, but at the same time, I could still be creative in how I execute the pre-planned scenes.
It goes without saying that having a project outline really guides me through my drafting process, which usually spans anywhere from 9 days to a month. Every single day, whenever I start writing a new scene, I would read my project outline in my writer’s notebook, to make sure I am on track.
***
To be continued.
We’re halfway through Preptober, and I’m also halfway through constructing my writer’s notebook for this year’s NaNoWriMo!
Next week, I’ll write about how I incorporate my character sheets into my writer’s notebook. If that sounds like something you want to read, make sure you don’t miss out! Follow me on any of my social media (Instagram or Twitter) to receive news about my upcoming posts!
***
COMING UP NEXT
Part 3: Characters
- Character Name
- Character Alignment
- Character Bio (Sex, Birth, Height, Weight, Physical Description)
- Character Personality (Quirks, Strengths, Weaknesses, Hobbies)
- Character Reason of Being (why are they in the story)
- Character Notes
Part 4: Settings
- List of Locations
- Notes for each Location
- Story Timeline
- Others
- Project Writing Playlist
- Project Thank You List
- Revision Notes
***
Good luck with your Preptober, everyone!
![]()
***
I will be posting new content every Saturdays, be it writerly stuff, or just things that I like to write about. This includes my own stories, information about my books, and things that interest me. Keep yourself updated by following me on Twitter and Instagram.