
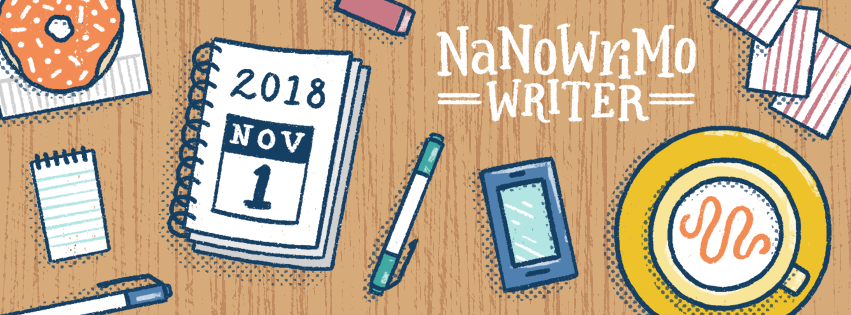
NaNoWrimo 2018 is just around the corner, guys. How is your writer’s notebook coming along? If you haven’t started filling in the information for your story’s settings, then I hope this blog post is what you’re looking for. (But even if you’re not doing NaNo, I hope these articles will prove to be useful to anyone who’s planning to work on a novel project.)
Previously, we have covered how I set up my project statistics, plotting, and character sheets in my writer’s notebook. I’ll leave the relevant links down below, in case you’ve missed some of them:
Read more: NaNoWriMo 2018 Prep: Setting Up a Writer’s Notebook – Part 1 (Project Statistics)
Read more: NaNoWriMo 2018 Prep: Setting Up a Writer’s Notebook – Part 2 (Plotting)
Read more: NaNoWriMo 2018 Prep: Setting Up a Writer’s Notebook – Part 3 (Character Sheets)
When you work on your plotting, you are defining “what happens with your story” and “how does it happen”. Similarly, when you work on your character sheets, you are defining the “who is involved” and “why are they involved”. Settings, on the other hand, is simply defining “where does the story take place” and “when is this happening”.
A good story doesn’t only need to have a solid plot and characters, but it also needs enough information about the when and where the story takes place. Imagine watching a stage play; settings are the backdrops behind the characters; the ambiance and lightings. They never take center stage, but they are important nonetheless.

Personally, my golden rule with having a “good enough” settings information for my novel project is to have just enough information so I can imagine being in the story with no problem.
It sounds rather vague, I know. But I will elaborate this in more details below.
***
List of Locations
When setting up my writer’s notebook to store information about my settings, I tend to reserve several pages for the List of Locations.
Just as the name suggests, this section is literally just that: an extensive list of all the locations I have and am planning to write for the project. Since it is in a list format, I don’t have to put any additional information yet—the place name is all I need for now.
For example, in my novel, Unspoken Words, my List of Locations would look like this:
- Kemuning and Samudra’s Bedroom
- Kemuning and Samudra’s House
- Bunda’s Kitchen
- Bunda’s Living Room
- Bunda’s Bedroom
- Primary School
- Middle School
- High School
- High School – Canteen
- Shopping Mall – Plaza
- Minangnese Restaurant
- Hospital
As you can see, there really is nothing else I’m writing down. The reason why I need this page is so I can reference locations quickly; I tend to get messy when I scribble down the actual research and information about the place, so having a “clean” place to list things down is always nice.
Another thing I’ve found quite useful about keeping this page is that you can always add new places here on the list without having to estimate how many pages would your research for the place take. This is a lifesaver, especially since I tend to come up with new locations during the drafting process. If I start jotting down my research materials every time I come up with a new location during my drafting process, I would never finish the manuscript.

Instead, I just write the location down on this list and take a mental note to properly do research later on and store all the information inside my writer’s notebook. That way, I don’t lose momentum from fumbling with my notebook too much, but I can still track the new locations that I need to work on effortlessly.
***
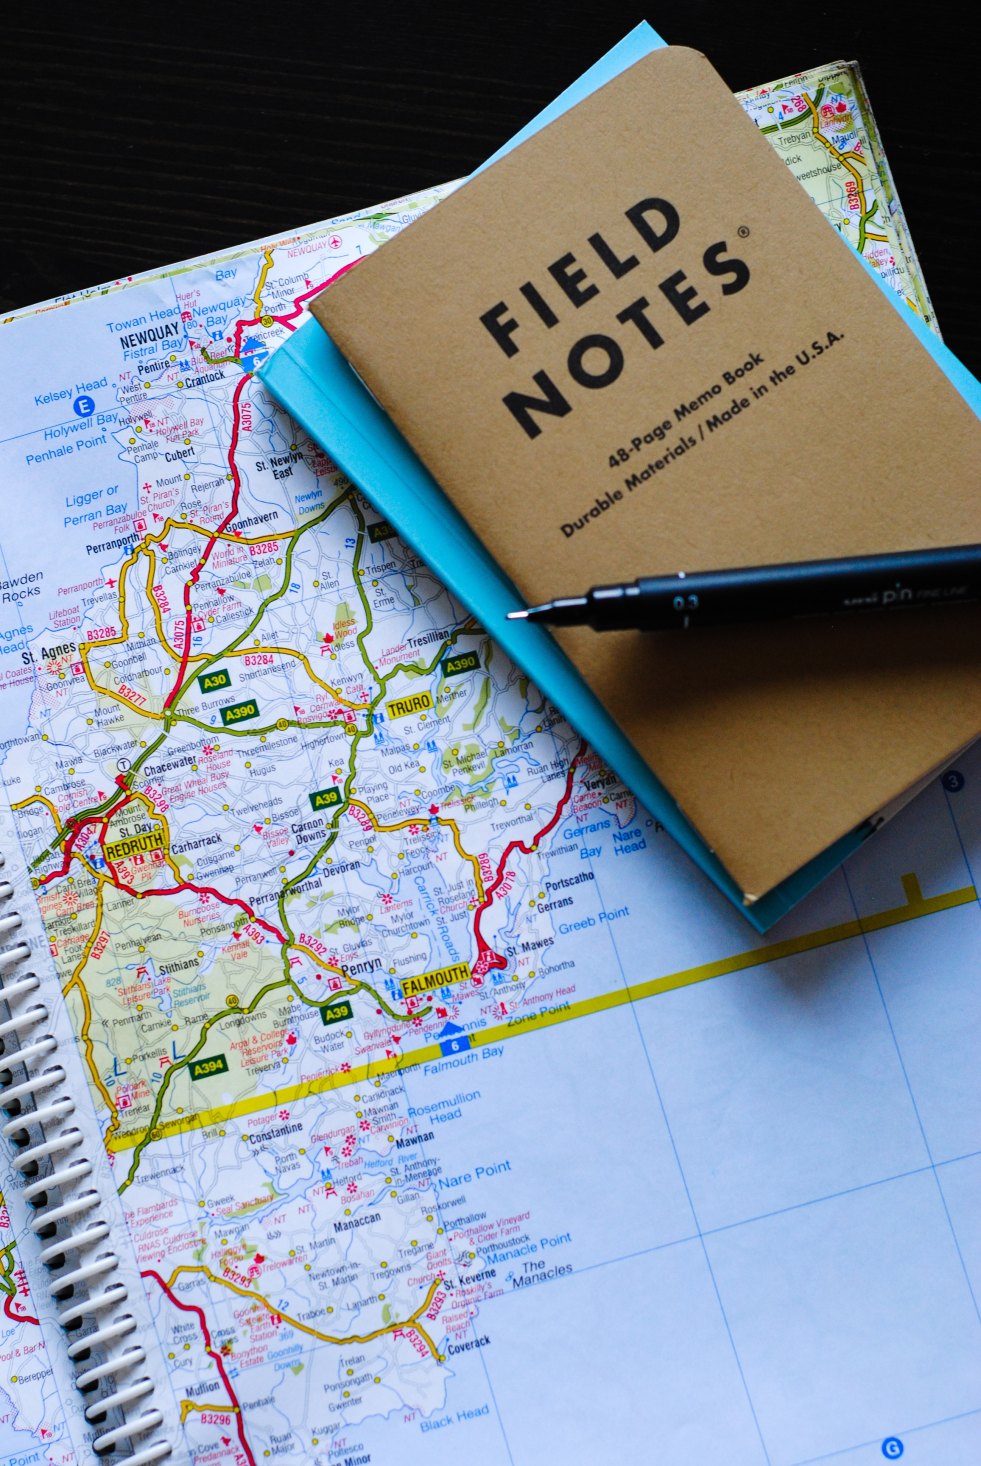
Notes for Each Location
After you have written down all the locations you’re using for your stories in a list format, it’s now time to set aside some dedicated pages for each of those locations. They don’t always have to take a full page or two—I sometimes only spare three or four lines for really, really minor locations that do not appear that much in the story.
Personally, here’s my take on populating this section inside my writer’s notebook:
- If I already know about the location, and if I’m confident I don’t need further research to get a feel of the place, then I just dedicate max. a single page for the location.
- If I don’t know much about the location, I will do my research somewhere else (i.e. Google, store on Evernote, etc.), summarize them somewhere else, and/or print the information out so I can later glue the relevant info on my writer’s notebook.
So what do I consider places that I already know about? Generally speaking, if it is a realistic location set nearby the place I’m living in, and during the time period I’m living in, I would consider the location as somewhere “I already know about”.
Which means if the story is set somewhere near where I live, but during a different time period, then I would still need to do some research before I write the story. This happened with Unspoken Words—both Kemuning and I live in Jakarta, but we were born in different years, so I still need to do some research on how did the place look like and how did people live back then.
My experience with my debut novel, 3 (Tiga), however, was a bit different.
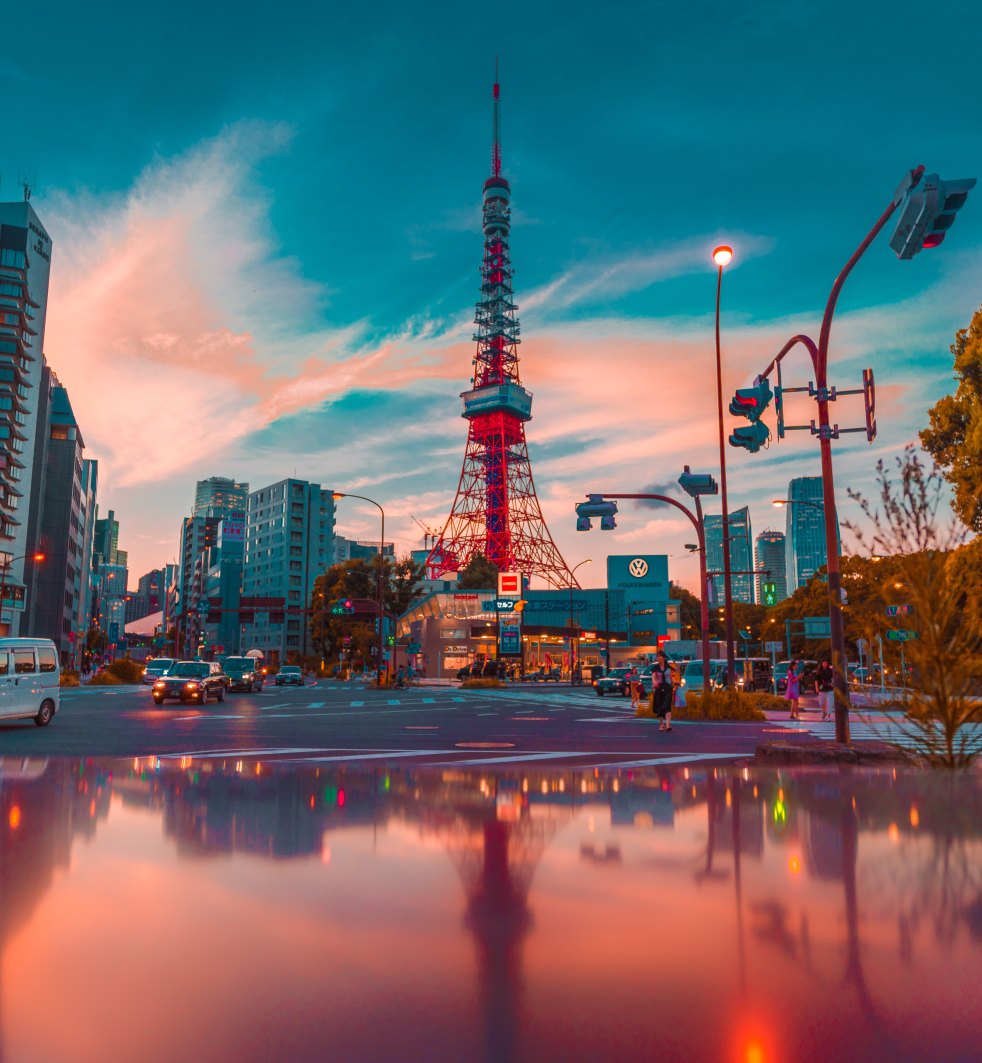
Because the story took place in Japan, and I don’t live in Japan, I needed to research the locations thoroughly. This includes collecting real-life Instagram pictures of the place, screenshotting some Google Maps Street Views, downloading the subway map of Tokyo, and even noting down which area has a red light district, and which area does not.
On top of that, because the story spanned over 20 years or so, I needed to check some facts on top of that, too. You know, like how did people communicate back in the day; was pager a thing in Tokyo, did commoners and students have access to cellphones during its first inception, what songs were popular during each time frame, food, lifestyle, etc.
And I only wrote a contemporary novel. I tried to imagine what would happen if I were writing an epic fantasy, historical fiction, or anything else that requires a ton of research… let’s just say I’m glad that I stick to more modern, realistic settings.
In any case, once I reserved some space for the location, I started jotting down information about that place that I know. Sometimes I glue a whole Wikipedia article inside my writer’s notebook, and some other time I would just rewrite the important facts. I think of this part as taking notes during school; cram all those important tidbits and highlight them so they’re easy to find.
Suffice to say, this section also includes notes about the place that happens during the writing process. For example, I might be writing about Tokyo’s Skytree Tower in one of the chapters, and I decided to make it a special place for the main character and her love interest. In the corresponding location notes for Tokyo’s Skytree Tower, I would jot down something like “Love interest proposed to main character here.”
You get the gist.
***
Story Timeline
I have to admit, this section here is so much easier to write once I have a definitive outline to follow.
Having a plot and outline essentially means you already know what the story is all about. You know who the characters are, what happens to them before the story, during the story, and possibly after the story. Personally, I would never attempt to work on my story timeline without having an outline first.
Once I have my outline, though, the rest is simple.
I just draw a horizontal/vertical line (depending on my mood) and start chronicling what happens to the characters from the beginning of time until the end of the story. Take a look at how my story timeline looks for Unspoken Words:
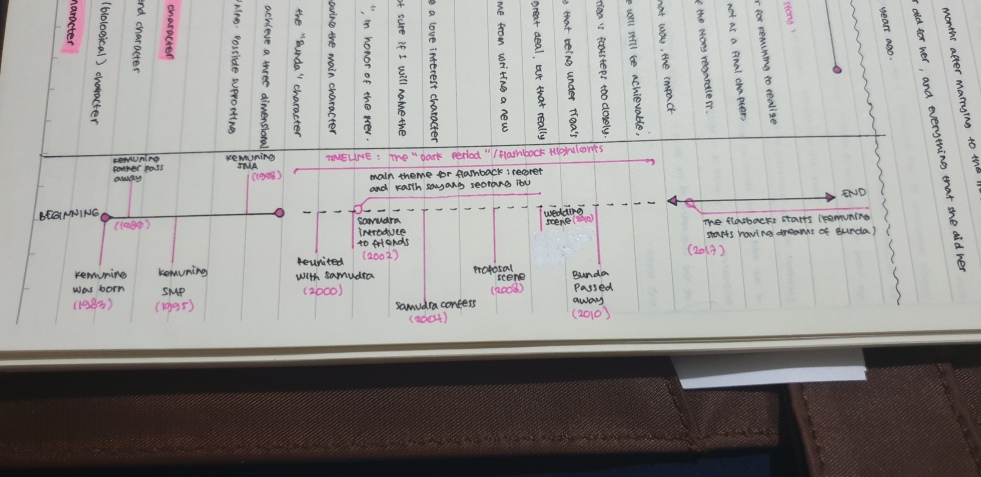
You may see that I wrote “Kemuning was born – 1983” on the leftmost corner. If you haven’t read my book yet, here’s a little secret: I didn’t write any scene pertaining to Kemuning’s birth.
So why did I write it? Why did I include it inside my story timeline?
Because my characters are (supposed to be) humans, that’s why. And since I wrote the book completely from Kemuning’s perspective, I felt that it was only natural to build the timeline based on her perspective as well. This means chronicling the events during Kemuning’s life, from the very beginning to the very end of the story.
On the other hand, when I write in 3rd PoV, I tend to be less character biased with my story timeline. Instead of chronicling what happens during a certain character’s life, I just write down everything that happens inside the story world in a big list/dropdown. Having this timeline certainly helps, especially if you’re writing historical fiction or any story that takes a long time to finish in general (i.e. the story spans over several years).
***
Project Writing Playlist
Now, this is completely optional, but I tend to have my personal writing playlist during my drafting process. If you’ve been following me on this blog, I’m pretty sure you’ve stumbled upon some of my writing playlist posts. So it really is no secret that I love to listen to music when I’m writing.


In fact, I’m currently listening to this thing called “Relaxing JAZZ For Work & Study – Music Radio 24/7- Smooth Piano & Sax JAZZ Music Live Stream” on Youtube as I’m writing this blog post.
Some writers listen to music, some prefer complete silence—hence why I can’t say I recommend having this section inside everyone’s writer’s notebook. And to be fair, I don’t really have to write this down inside my notebook. I can always just make a Spotify playlist and leave it at that.
But as much as it is unnecessary, I always get excited when I find the perfect song to listen to when I work on a project. And knowing me, I would be listening to the music non-stop until I’ve finished writing the manuscript—at which point the music and my manuscript would become inseparable to me.
***
Project Thank You List
This section is quite self-explanatory. Whenever I’m working on a relatively long writing project, I always dedicate a couple sheets inside my writer’s notebook to keep a long list of every single person that has contributed to the project. I really don’t have a specific format for this—a long list would do.
Of course, you could start with God (if you believe in one), your parents, your closest friends, etc. But I tend to also include random people who have helped me unconsciously. Like the library attendant who would always wait for me to finish writing my chapter before closing up, or the waitress at my favorite cafe who, instead of refilling my drinks periodically, just leave a full jug of tea on my table so I can help myself.
It doesn’t matter if these people eventually won’t make it to your final acknowledgments page. It doesn’t even matter if you don’t have any thank you page for your patrons and benefactors. I always try to keep this list so I know who do I owe the completion of the story to.
So I won’t forget people’s kindness.
***
Revision Notes
So far, the writer’s notebook has been all about preparing to write the story. But depending on how much research I need to do, I usually would still have a lot of blank pages. So what better thing can I dedicate the blank pages to aside from becoming my trusty revision notes?

And since I draft manuscripts really, really fast, I also tend to come up with things to edit in the middle of the project. Because I don’t want to ruin my drafting momentum, more often than not I would just jot things down inside this section and forget about it until much, much later.
After I completed my manuscript, I could return to this section, easily check all the notes I’ve written, and perform edits wherever necessary. This also works during the revision process after I’ve submitted my manuscript to my editor. I just find that having a dedicated section to keep all my revision notes ready to be very efficient.
***
And there you have it! That’s usually everything I have stored inside my writer’s notebook before I start writing the story. I know this has got to be one of the longest blog posts, especially combined, but I really appreciate all of you who read each and every one of them.
Please keep in mind that I don’t consider myself an expert, but these are the things that I do and work for me. Feel free to follow my methods, tailor them to your tastes, or ignore me completely. That is actually quite fine!
I understand that every writer functions differently. If you can gain something from my experience and method in building a writer’s notebook, then great! And if you can’t gain anything from it, I hope you will find your own formula. Please do share your experience either way in the comments section below!
Anyway, we’ll be entering November next week. I hope you guys are ready for NaNoWriMo 2018! Cheers!
***
Good luck with NaNoWriMo, everyone!
![]()
***
I will be posting new content every Saturdays, be it writerly stuff, or just things that I like to write about. This includes my own stories, information about my books, and things that interest me. Keep yourself updated by following me on Twitter and Instagram.
Where to find:
Goodreads | Gramedia | Gramedia Digital

Wow, this series of NaNoWriMo prep post have been amazing, I have learned so much! Even if I’m not participating this year, I will take all of this knowledge for the stories I might create during the year and then, to next November! 😊 This posts would be amazing as a booklet for anyone considering to write a Novel 👌
LikeLiked by 1 person
Thank you! I’m glad people find the posts helpful! I’m sure my methods won’t apply to everyone, but if it did, I’d be very happy to have shared them! ♥️ Thank you for always reading my posts, dear!
LikeLiked by 1 person